Initial Set-Up - 240V - 2100 Series

Shipping and Packaging

(For 120V heaters, use this topic).

 The Installation Guide is shipped on top of the heater.
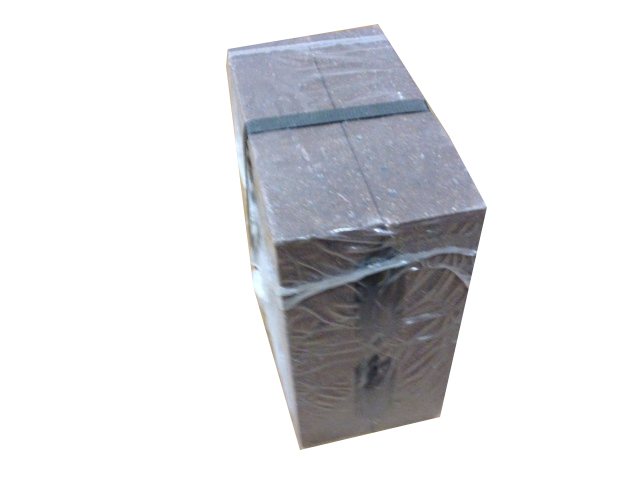
Brick Packages

Shipped separately with 2 bricks per package.

MODEL

BRICK

2102

8 pkgs

2103

12 pkgs

2104

16 pkgs

2105

20 pkgs

2106

24 pkgs

Mounting Hardware Package

Shipped inside heater's electrical compartment.(See part 52)

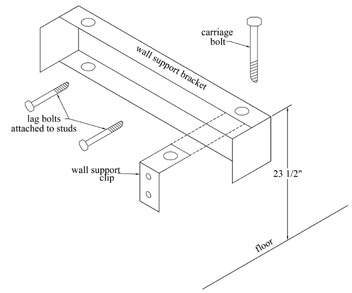
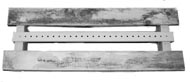
Wall Support Bracket

Placed on shipping pallet under heater.(See part 53)

Set-Up Steps

Unbox Heater

Remove the heater from the box and lift it off the shipping pallet. Place the shipping box aside until the brick loading process.

Locate Items

Locate Install Guide, registration card, and brick loading tool. These items are shipped on the top of the heater.

Locate Bracket

Remove the wall support bracket from the shipping pallet and set it aside. It will be used to secure the heater to the wall in later steps.

Check Clearances

Place the heater in the desired location and check for proper clearances on all sides.

NOTE

NOTE: Do Not Remove Top or Left side of heater! No heater panel, with the exception of the painted front panel and painted right side panel, can ever be removed from the heater. Should any other exterior panel(s) be removed, the heater must be taken out of service permanently. All panels must be in place when operating the heater.

Remove Screws

Remove the screws at the lower edge of the painted front panel.

Remove Front Cover

Pull the lower edge of the panel forward and unhook it from the top panel.  Carefully place the painted front panel aside to avoid damage.

Hinge the Right Side Panel

Hinge the right side panel open.

yellow triangle with flameWARNING

Risk of fire. Can cause injury or death. Failure to secure the heater can cause the heater to fall over. Properly secure the heater by using the wall support bracket to mount it to the wall.

Locate Hardware

Remove the mounting hardware package from the display bracket.

Mount Bracket 

Place the top of the wall support bracket 23.5 inches from the floor and secure it to the wall with the lag bolts. The bracket MUST be mounted so the lag bolts secure into wood wall studs. If the wall is not a standard wood stud structure, alternate fasteners must be used.

Attach Clips 

Attach the wall support clips to the back of the heater.

After Installation

Set the carriage bolts aside as they will be used to attach the heater to the wall support bracket after the field wiring connections are made.

2100 Install Guide 240V 1206094 Rev 1