Initial Set-Up - 120V - 2100 Series

Shipping and Packaging

(For 240V heaters, use this topic).

 The Installation Guide is shipped on top of the heater.
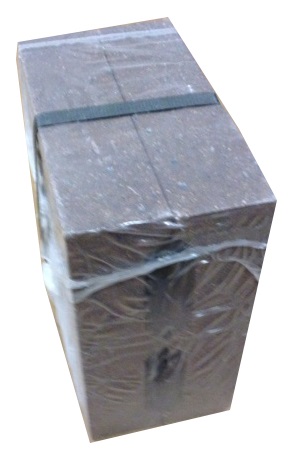
Brick Packages

Shipped separately with 2 bricks per package, 2102 120V Plug-In heaters require 8 packages.

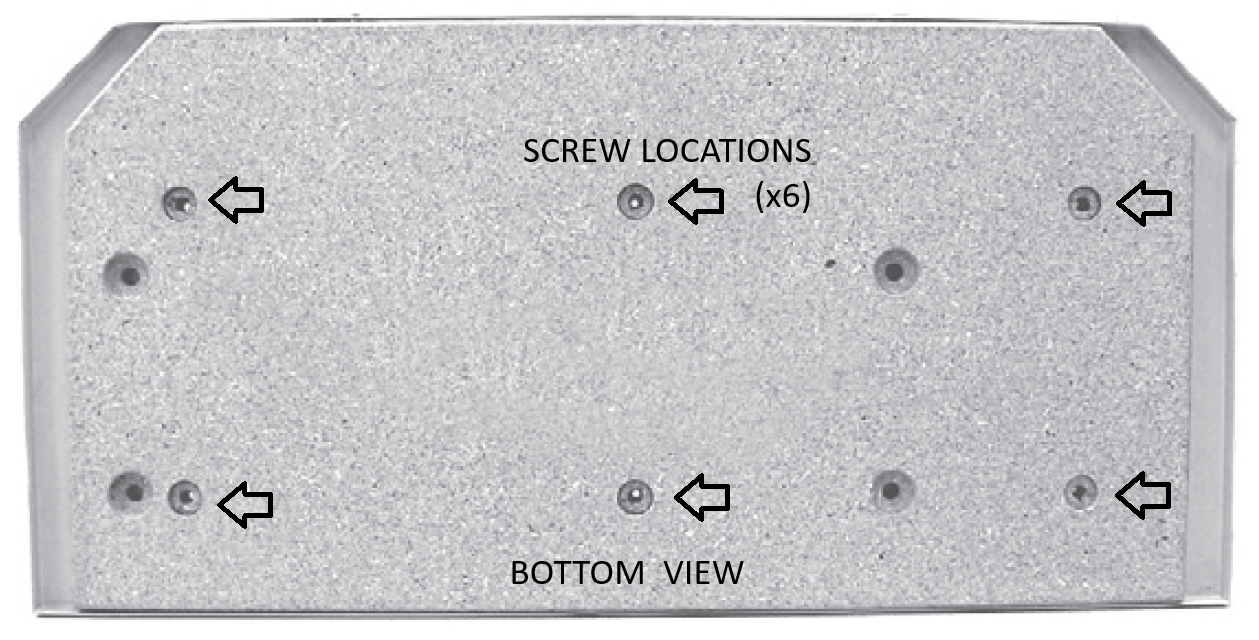
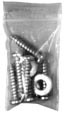
Security Hardware Package

Shipped inside heater's electrical compartment - used in 120 V plug-in models. (See part 52)

Security Base

Packaged in heater box on back side...used only in 120 V plug-in models.

Set-Up Steps

Unbox Heater

Remove the heater from the box and lift it off the shipping pallet. Place the shipping box aside until the brick loading process.

Locate Items

Locate Install Guide, registration card, and brick loading tool. These items are shipped on the top of the heater.

Install Base

Remove the base from the back of the heater. This base MUST be attached to the bottom of the heater.

Remove Screws

Remove the screws at the lower edge of the painted front panel.

Pull Out Bottom

Pull the lower edge of the panel forward and unhook it from the top panel.  Carefully place the painted front panel aside to avoid damage.

NOTE: No heater panel, with the exception of the painted front panel and painted right side panel, can ever be removed from the heater. Should any other exterior panel(s) be removed, the heater must be taken out of service permanently. All panels must be in place when operating the heater.

Hinge the Right Side Panel

Hinge the right side panel open.

yellow triangle with flameWARNING

Risk of fire. Can cause injury or death. Failure to secure the heater can cause the heater to fall over. Properly secure the heater by using the wall support bracket to mount it to the wall.

Locate Security Base

120V plug-in cord models come equipped with a security base. This base must be attached to the bottom panel of the room heating unit before bricks are loaded. It is packaged inside the shipping box on the back side of the heater.

Locate Hardware

Remove the security base mounting hardware package from its shipping position inside the electrical compartment.

yellow triangle with exclamation pointCAUTION

The unit CANNOT have any bricks in it during the following step as they will damage the interior of the unit.

Lay Heater Down

Gently lay the heater on its back. For ease of installation, slightly elevate the bottom of the heater.

Attach Base

Align the holes in the security base with the pre-drilled holes in the bottom of the heater. Using the six #14 x 1¼" sheet metal screws and washers provided in the mounting hardware package, attach the security base to the painted bottom panel.

NOTE: The angled corners of the security base will be towards the front of the heater and the painted side of the security base faces up.

Set Heater Up

After the base is attached, return the heater to its upright position and place in desired location. DO NOT energize the heater until installation is complete.

2100 Install Guide 120V 1206079 Rev 0