THIS PROCEDURE MUST BE PERFORMED BY A QUALIFIED TECHNICIAN.
 WARNING
HAZARDOUS VOLTAGE: Risk of electric shock. Can cause injury or death.
-
DO NOT remove the electrical panel cover while system is energized.
-
Position elements properly to avoid short circuiting them against metal surfaces.
-
Protect element lead wires from front panel screws and any field installed screws to avoid short circuit.
Insert Elements
After all brick are loaded, insert the heating elements between the brick layers, sliding them in until the element ends embed into the side cutouts of the brick cavity.
Be sure the elements are slid into the brick core properly to ensure correct clearance between the terminal connections and any surfaces within Serenity. (Figure 6)
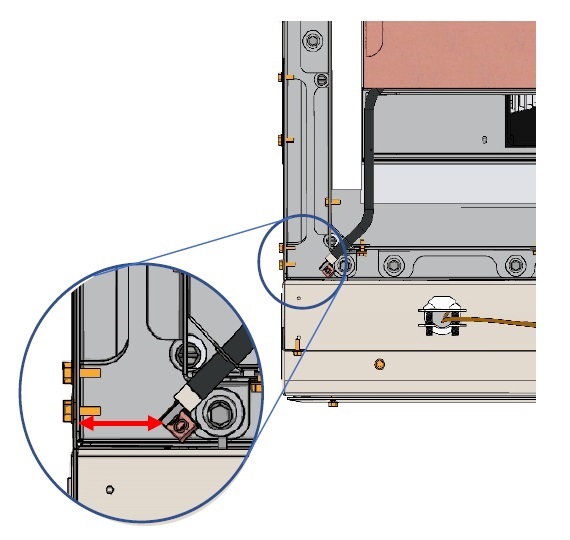
Figure 6
Install Air Channel
Install the front air channel with the air deflectors opening facing inward. Place bottom portion in first as shown in Figure 8.
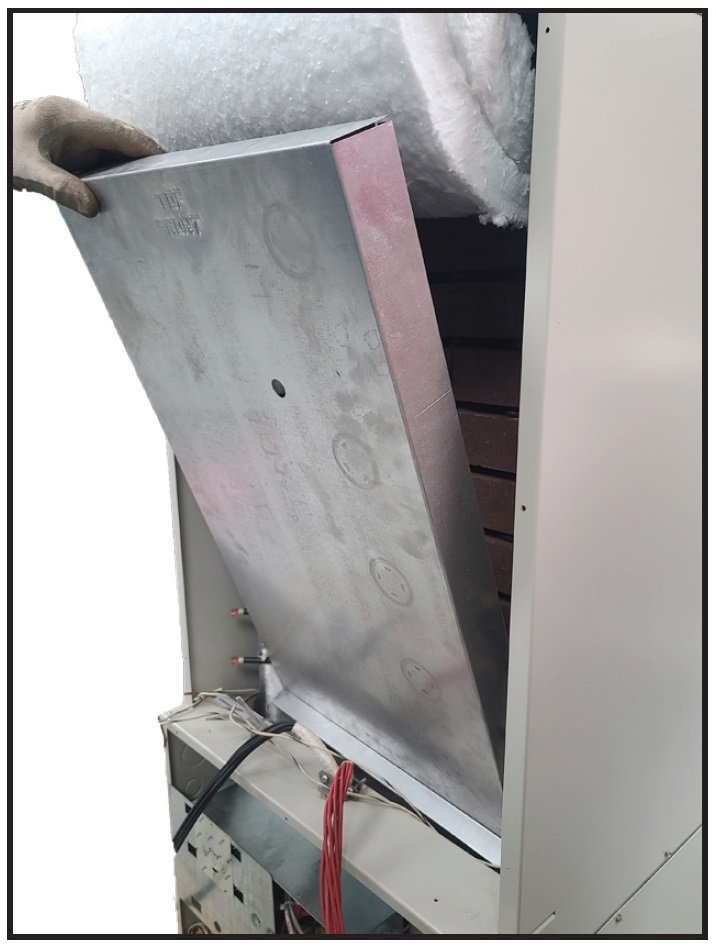
Figure 8
Securing Insulation Blankets
Lower the insulation blankets back into position, one at a time. Carefully tuck the insulation behind the brick tray front bracket (Figure 7) and press into the edges, corners, and around the exposed portions of the heating elements to ensure maximum efficiency.
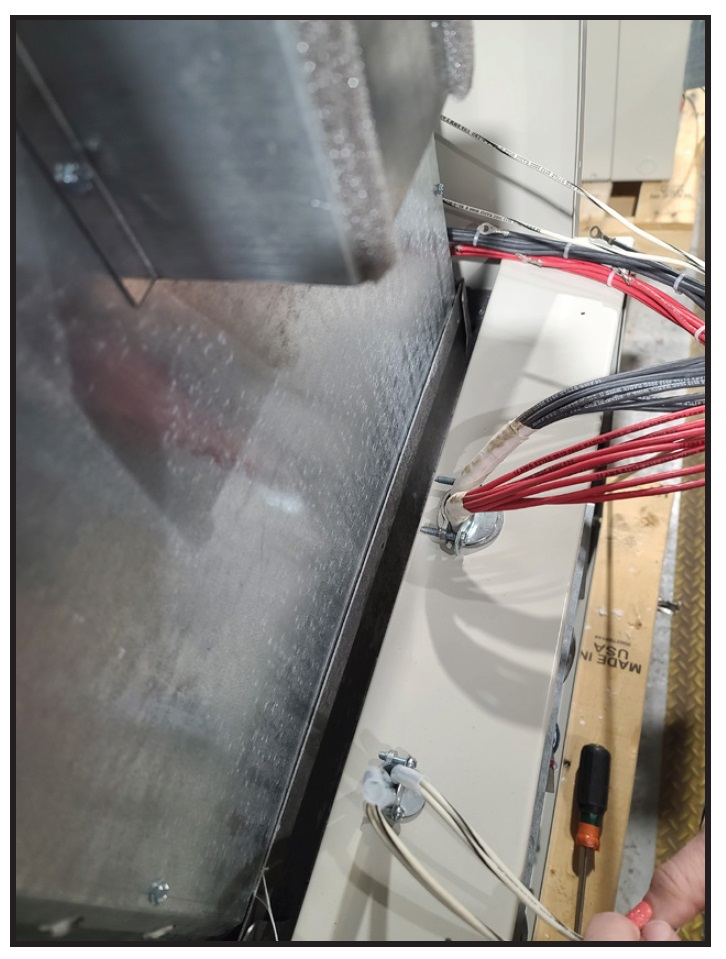
Figure 7
Install Galvanized Panel
Reinstall the galvanized front panel, behind the brick tray front bracket, and secure it to Serenity using the screws that were originally removed. Slide the bottom of this panel inside the lower lip of the brick cavity. The top rests on the outside of the cavity.
Connect Element Harness
Carefully route wiring harnesses and connect them to the heating elements using the element screws provided in the hardware package. Make connections with screw heads to flat, front side element tab (Figure 9). Element screws should be tightened securely as Serenity runs large loads for long periods of time.
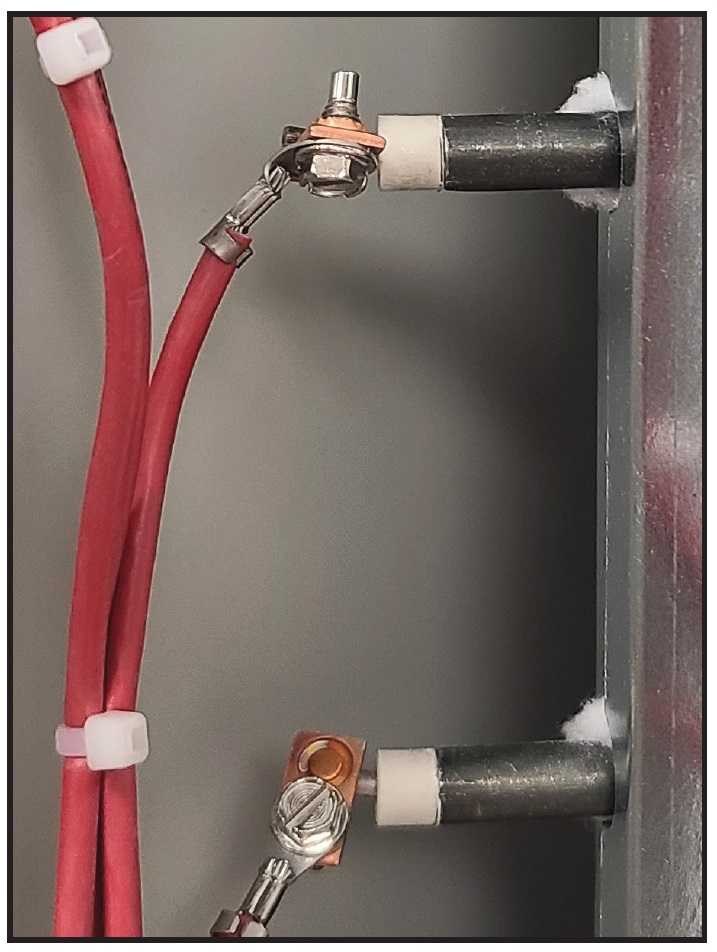
Figure 9