THIS PROCEDURE MUST BE PERFORMED BY A QUALIFIED TECHNICIAN.
 IMPORTANT
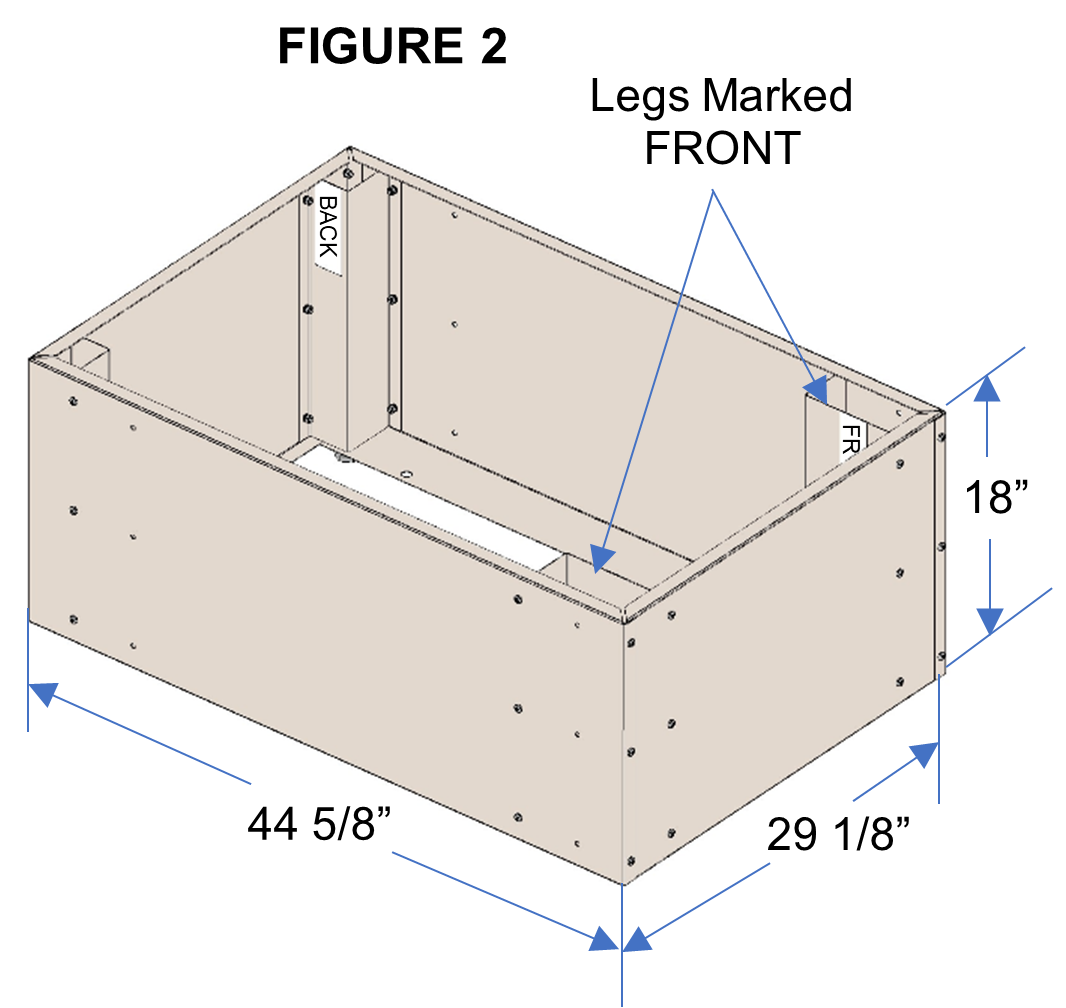
Corner supports MUST be installed.
-
Front of the system MUST be supported by the corner supports marked "Front".
-
Weight of the system can NOT be supported by outside shell of the stand.
 CAUTION
HEAVY OBJECT
-
Can cause muscle strain or back injury.
-
Use lifting aids to move system into place.
-
Do NOT place object, hands, and/or body parts under the system when lifting.
-
Do use care to keep objects, hands, and/or body parts clear of system when lifting.
Attach Side Panels
Using the bolts provided, attach the side panels as shown in Figure 1.

Attach Corner Supports
After assembling the four panels, attach the corner supports in the proper positions with the bolts provided. See Figure 2.
Insert Leveling Legs
Insert leveling legs into the openings on the bottom of the stand and adjust them as necessary to prevent rocking.
NOTE: If the stand is not level, the system may bend or twist during the brick loading process, making element and brick core temperature sensor installation difficult.

Prepare Furnace to be Placed on Stand
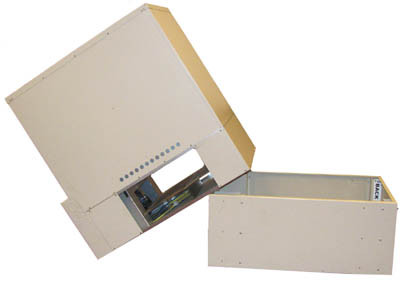
Place the system on the stand, tilt the system forward on its face and position the stand under the system as shown in Figure 3.
Figure 3:

NOTE: Figure 3 shows an image of a 4100 Series system.
Lift Furnace on Stand
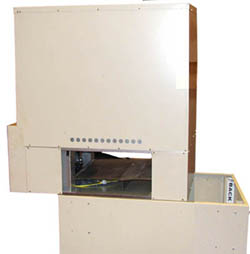
Next, have someone behind the stand to hold it in place as another person pushes the system on the stand and slides it back. See Figure 4.
Figure 4:

NOTE: Figure 4 shows an image of a 4100 Series system.
Position Furnace on Stand
The system will catch on the back corner supports, so have someone lift the system with a lifting device while the system is being pushed back. The back of the system should be flush with the back of the stand.
NOTE: The system will overhang the front of the pedestal by approximately 2.5".