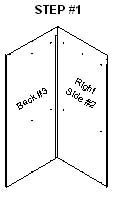
NOTE: All panels should be assembled in such a manner that the hand written numbers face the inside of the plenum assembly.
Attach Back to Side
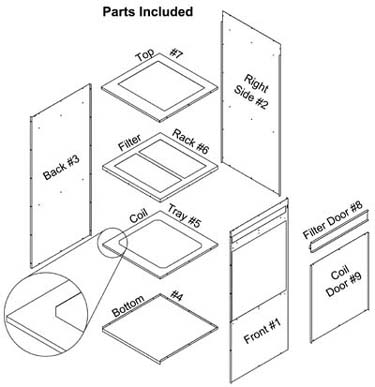
With silver screws attach panel 3 to panel 2, making sure the pre-drilled holes on the panels line up. The filter rack opening on panel 3 should be at the top of the plenum assembly. The smooth side of panel 2 locks into the edge of panel 3 allowing panel 3 to wrap around the back of panel 2.
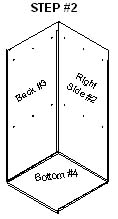
Add Bottom
With the ¾” bend down and the three ½” bends up, attach panel 4 to panels 2 and 3 using silver screws. Panel 4 must be placed so the side without pre-drilled holes is facing the open side of the plenum.
Add Trays
Next, attach panels 5 and 6 in much the same manner as panel 4 was attached with silver screws. All bends on 5 and 6 will face down.
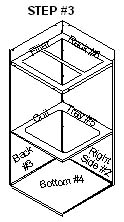
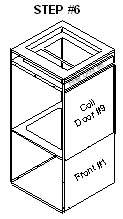
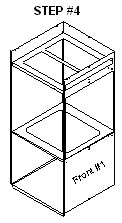
Add Front
Attach panel 1 to panels 2, 4, 5, and 6 with silver screws.
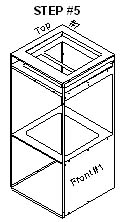
Add Top
With silver screws attach panel 7 to the top of the plenum assembly with bends down and the side without pre-drilled holes facing the open side of the plenum.
Attach to Unit
With the gold screws provided, mount the plenum assembly to the right side panel of the Comfort Plus. Install the filter tray door, 8, by inserting the bent hooks through slots in panel 1. Install the coil access door, 9, to the opening on panel 1.
