
Peak Status

Peak (P) During this period, the system is not allowed to charge. In time-of-use (TOU) areas, the heater can charge, but it will be more expensive.
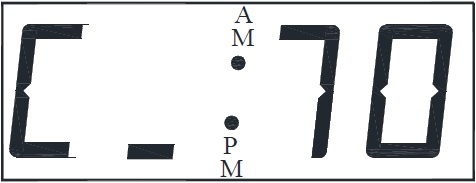
Charge (C) During this period, the system is allowed to charge, and the power costs are at their lowest.
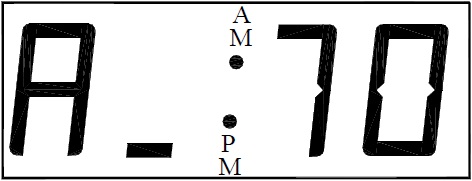
Anticipated Peak (A) This is often referred to as a pre-peak, mid-peak, or shoulder charge period. It is generally used in time-of-use (TOU) areas where there is a three-tiered rate. Electricity used during this period is less expensive than during peak but more expensive than during charge.
AM & PM Indicator Lights
Between the second and third digits of the display, two dots are used to indicate a.m. and p.m. times when using a Steffes time clock module. When the heater is programmed for a time clock module, the lights will illuminate. One of the lights will be solid, and the other light will flash. For example, if the heater is set for 7 p.m., the light next to the p.m. flashes. If it is set for 7 a.m., the a.m. light flashes.
Current Room Temperature
During normal operation, this number is the current room temperature as read by the heater’s room temperature sensor.
If the up or down arrow is pressed, it temporarily displays the room temperature set point.
Elements Energized
The second digit of the display indicates whether elements are energized and whether an internal timer is active.
The lower dash indicates if any of the elements are energized. If the lower dash is illuminated, the system has energized at least one of the four elements.
The upper dash indicates when an internal timer is active. For example, in Nova Scotia, Canada, the upper dash would be illuminated from 7 a.m. to 4 p.m. as there are internal timers on to activate the anticipated peak period from noon to 4 p.m.
M Button
The M button is used to access menus. To see the HELP menu, press and release the M button. For more information on the HELP menu, refer to the Owner’s and Installer’s Manual.
Programming Port
Allows qualified technicians external access for advanced operation modes, updating software, and troubleshooting.
Up & Down Arrow Buttons
The up and down arrow buttons are used to set the room temperature. If the set point shown is too high, use the down arrow to turn it down. If it is too low, use the up arrow to turn it up.
To turn the heater off, press the down arrow until the heater displays OFF.